
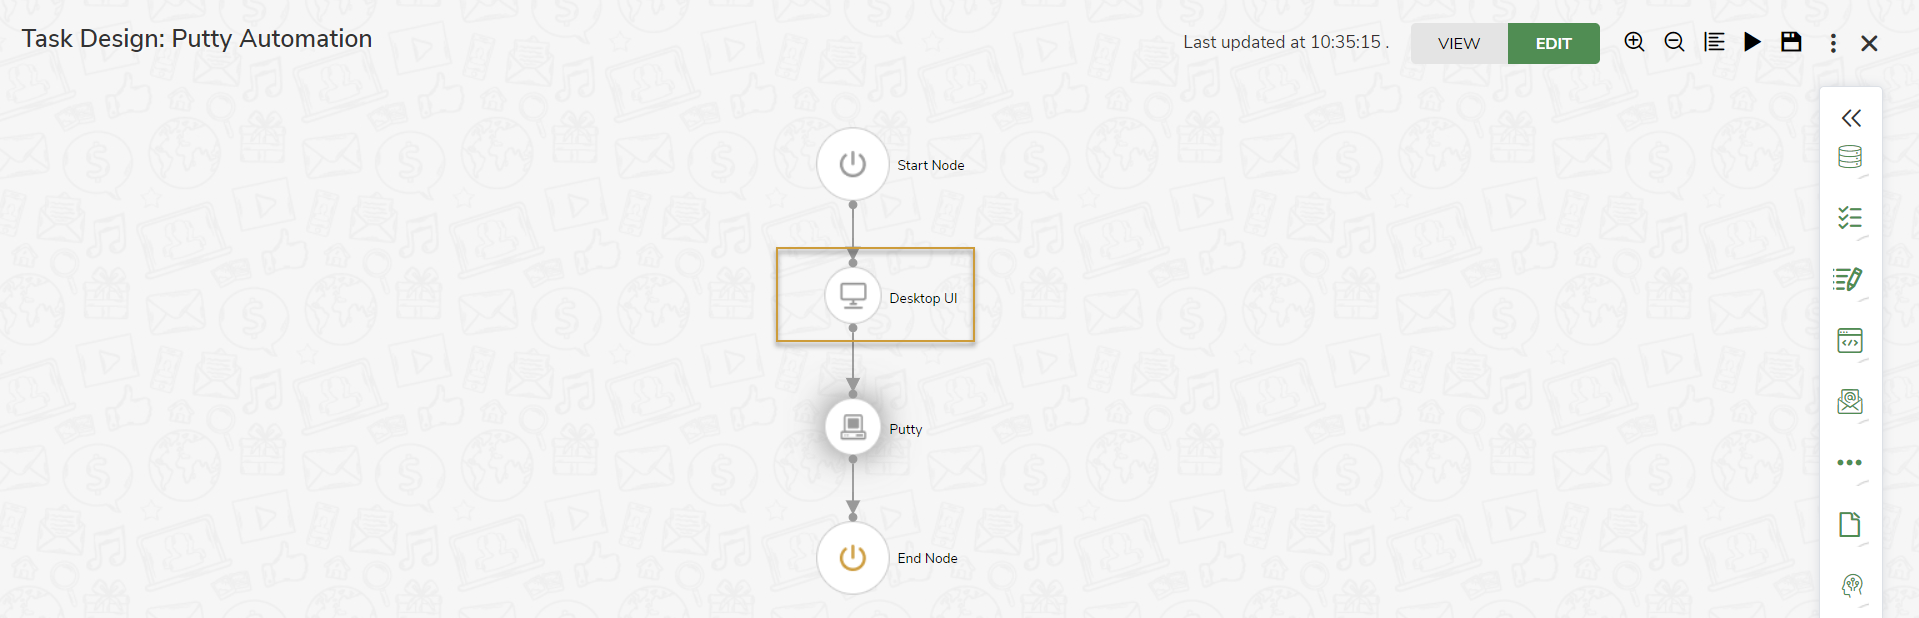
Desktop UI
Last Updated: Apr 27, 2020
Last Updated: Apr 27, 2020
The Desktop UI node is used to automate the user interface of any desktop applications like notepad, wordpad etc.
Jiffy UI automation framework allows user to automate user interface pages for any application. Consider a scenario of automating a Desktop application.
To start with Desktop UI automation, the user must create a desktop application first. To create a desktop application, do the following:
To create a new Desktop Application, click on the New Desktop Application radio button.
 Add the following details:
Leave cluster name blank when the task is being executed using a [Developer BOT](/admin_guide/tenant-admin-activities/bot-management/developer-bots/).
Alternatively, select any existing desktop application in the Desktop Application drop-down if it matches the criteria of the user.
Click on the CREATE & RECORD button to create the desktop application and begin recording the desktop application.
After the App and the Configuration are created, if the App name is Demo, the name of the Configuration name will be concatenated with the App name and type of UI automation. Eg: Demo_desktop.
Click on the + icon to create a new configuration if required.
.jpg)
Add the following details:
Alternatively, select any existing configuration in the Configuration drop-down if it matches the criteria of the user.
The user can also edit, copy or delete the existing configuration by clicking on the Edit, Copy and Delete icons displayed against each configuration, respectively.
The created configuration will be listed in the Configuration tab.
After creating the desktop application, the steps for automation need to be recorded. Recording can be either of the following ways:
Click on the CREATE & RECORD button while creating a new desktop application.
After the recording begins, a Jiffy UILearn tab opens. Do the following to continue with the recording:The Developer Bot must be running while recording the desktop application. Read how to start the Developer Bot here.
On clicking the RECORD button, a floating window of Jiffy UILearn opens for recording the actions performed on the required fields in the desktop application based on the URL mentioned in the Configuration tab which will be captured as the UI controls.
.jpg)
Make sure that the desktop application to be recorded is open before starting the recording. The UI Learn floating window can be minimized, maximized and closed using the buttons provided on the right top corner of the Jiffy UILearn floating window.
Give a name for the Screen Ex: Screen1
Learn the UI elements by placing the mouse pointer on the required field and then pressing the ctrl key. The selected UI element will be highlighted in Red colour.
For the Notepad app, click on Save As button to save the notepad and then in the file explorer, click on the Name text field and the Save button to save the note.
The controls familiarized will be listed under the Screen1 screen. The names and actions of the controls can be edited as required.
.jpg)
Click on the Stop Recording button on the Jiffy UILearn floating window after recording is completed.
Edit the lines of action that are recorded to finetune the performance of the desktop application as required. Read how to Design the desktop application.
.jpg)