
Field Properties
Last Updated: Mar 8, 2023
Last Updated: Mar 8, 2023
When a user opens the form, the fields to be displayed on the form and the access to the data fields should be restricted as per the role.
In a Purchase Order HyperApp, when an Approver opens the form, he should only view PO Date, Description, and Amount and not be able to edit them. When the Requestor opens the form, he should be able to both view and edit PO Date, Description, and Amount.
By default, both predefined and user-defined columns of the table are listed.
You can choose to retain the fields to display in the forms and remove the others.
At any later point of time, you can add the removed fields.
Click the + icon to add fields to the form.
Select the Add Fields option.
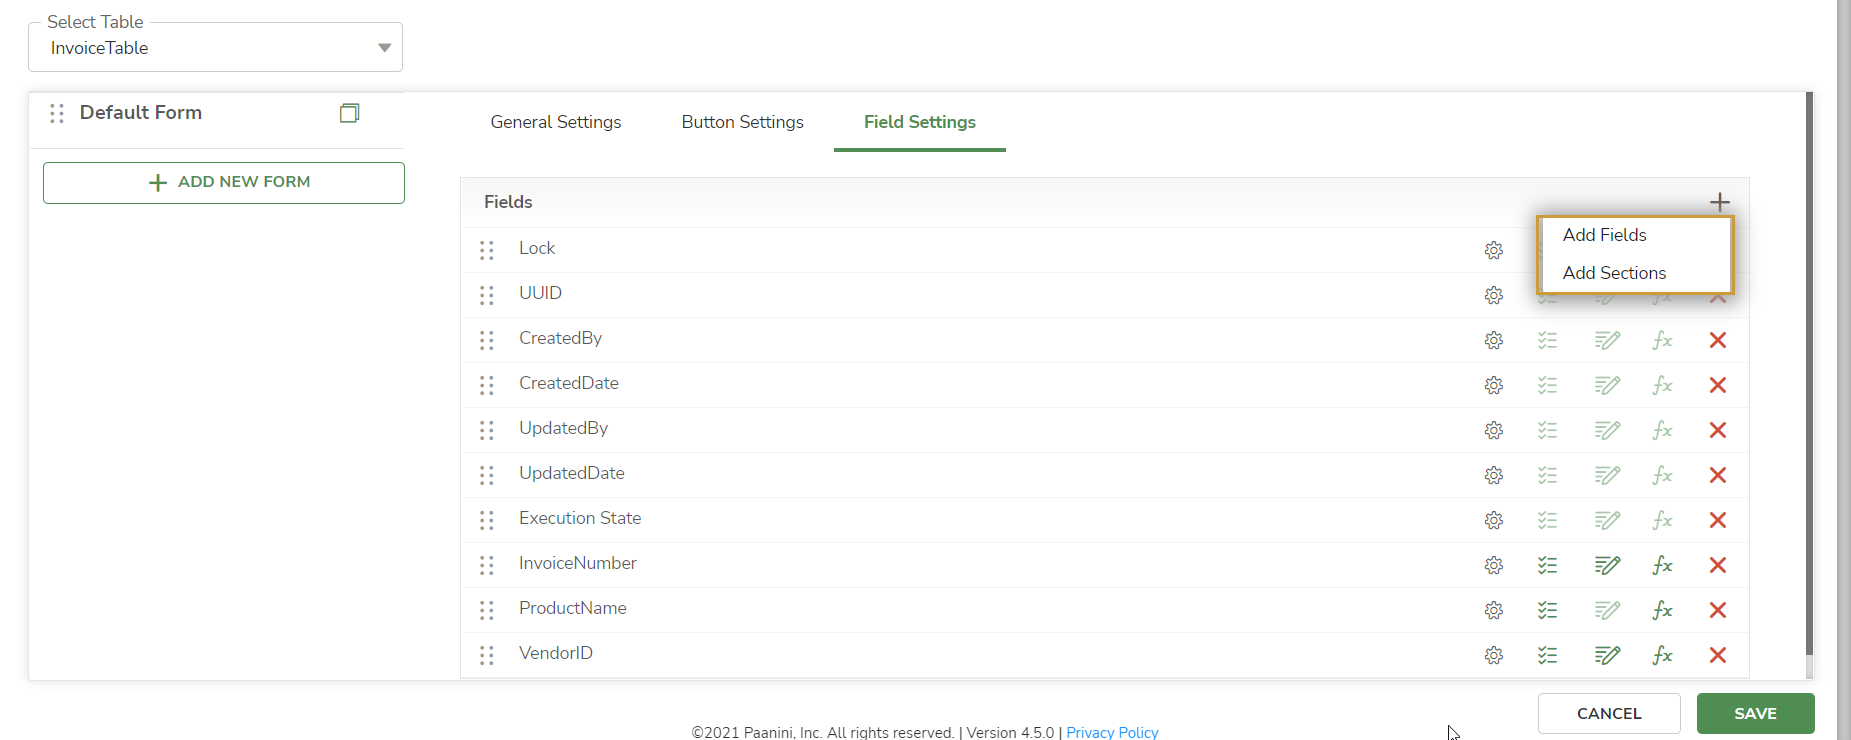
Lists all the columns in the table (fields added in the form are checked and others are unchecked):
Select the columns and click the Add button.

To know more about Add Sections option, click here.
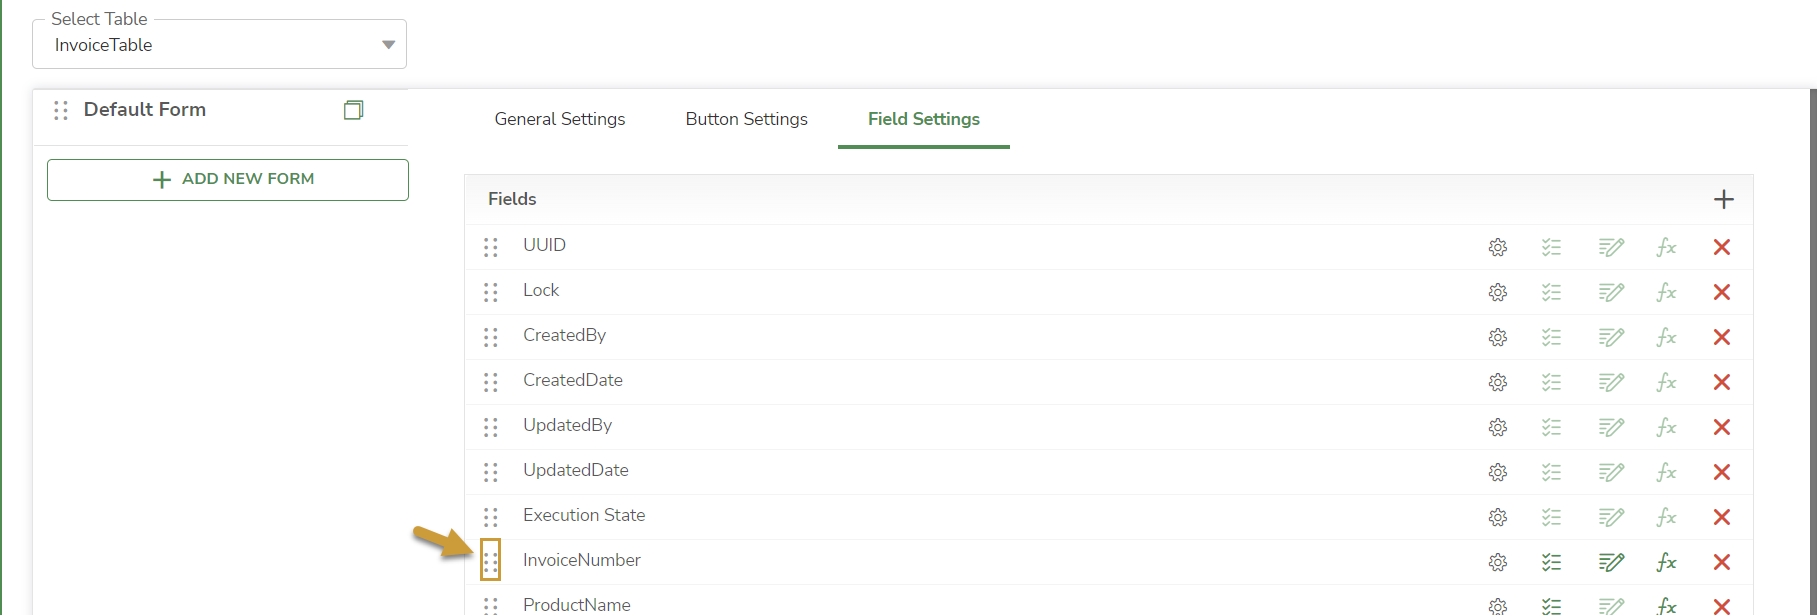
Drag and drop the drag handle.jpg) icon to change the sequential order of the fields.
icon to change the sequential order of the fields.
To provide field level restrictions, use the following options. Click the Settings.jpg) icon.
icon.
.png)
| Option | Purpose |
|---|---|
| Mark as mandatory | The field values are mandatory |
| Allow View | The field values are non-editable |
| Allow Edit | The field values are editable |
| Make this attachment default | To make the attachment visible by default in the Jiffy Table Presentation |
Mark Mandatory option only available for user-defined columns of the table.
You can enable or disable

icon beside the inline table..png)
Click the Show/Hide columns on table button. Choose the columns to be displayed in the Jiffy Table Presentation in the exact order.

.png) , Duplicate
, Duplicate .png) , and Delete
, and Delete .png) are available for each record in the Inline table.
are available for each record in the Inline table.
.png)
