Microsoft Graph API (MS365) is used to interact with Microsoft 365 services like Outlook, Teams, Excel, Azure, etc.
JIFFY.ai uses MS365 to interact with Outlook mail.
Create an Application
- Create a Microsoft Azure account and navigate to Portal.
- Click the App registrations option.
- Click the + New registration option.
- Enter a Name for your application and select the required option in the Supported account types section.
Preferably, use the Single tenant option.
- Click the Register button to create the application.
- Note the Client ID in the Overview section.
Pre-requisites set-up
Create Secret Key
- Open the created application.
- Click the Certificates & secrets option in the left-hand side menu and click the + New Client Secret button.
- Enter Description and choose when the key Expires. Click the Add button.
API Permissions
- Open the created application.
- Click the API permissions option in the left-hand side menu and click the + Add a permission button.
- In the Commonly used Microsoft APIs tab of the Request API permissions window, click on Microsoft Graph.
- Click the Delegated permissions button.
- Select the following permissions and click the Add permissions button.
- Calendar
- Calendars.Read
- Calendars.ReadWrite
- User
- User.Read
- User.ReadBasic.All
- Files
- Files.Read
- Files.Read.All
- Files.ReadWrite
- Files.ReadWrite.All
- Sites
- Sites.Read.All
- Sites.ReadWrite.All
- Mail
- Mail.Read
- Mail.ReadWrite
- Mail.Send
- Shared*
- Mail.Read.Shared
- Mail.ReadWrite.Shared
- Mail.Send.Shared
- Calendars.Read.Shared
- * Calendars.ReadWrite.Shared
- * Scopes needed to access resources that are shared with, but not owned by, the user.
- Click the Grant admin consent button.
Disable MFA (Multi Factor Authentication)
Do the follwing to disable the Multi Factor Authentication for the user to connect.
- Sign in to the Portal as an administrator.
- Navigate to the Multi-Factor Authentication page.
- Select the user to disable the MFA and click Disable.
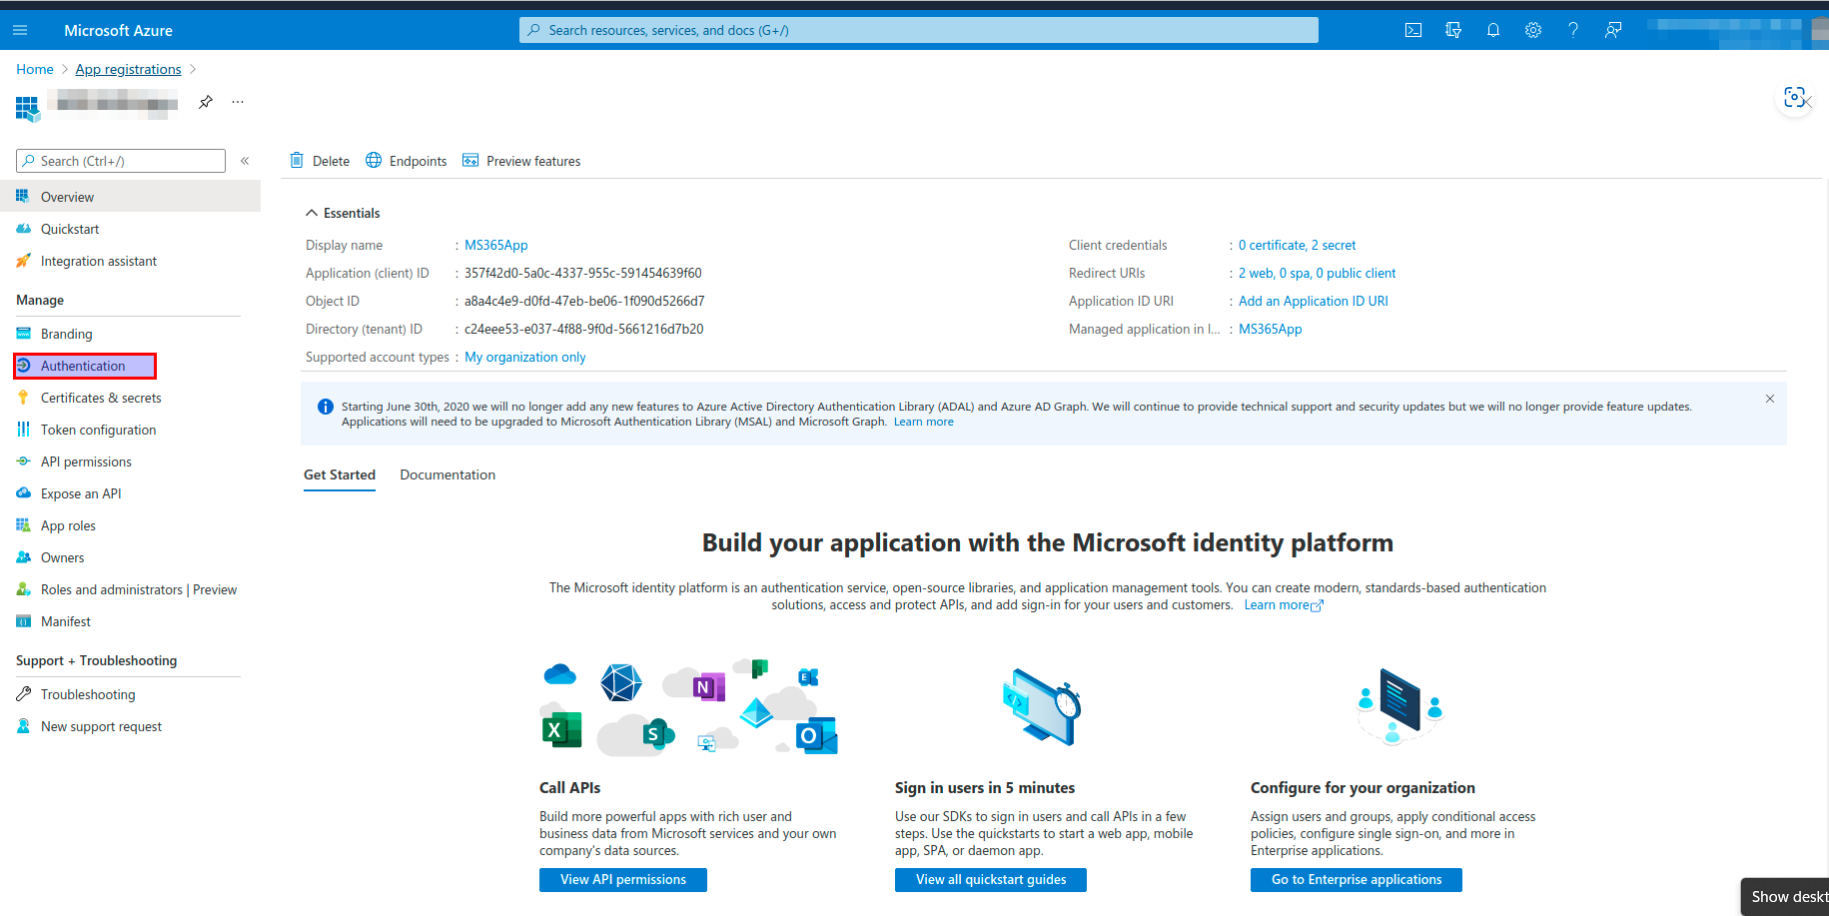
- Navigate to the Microsoft Azure App
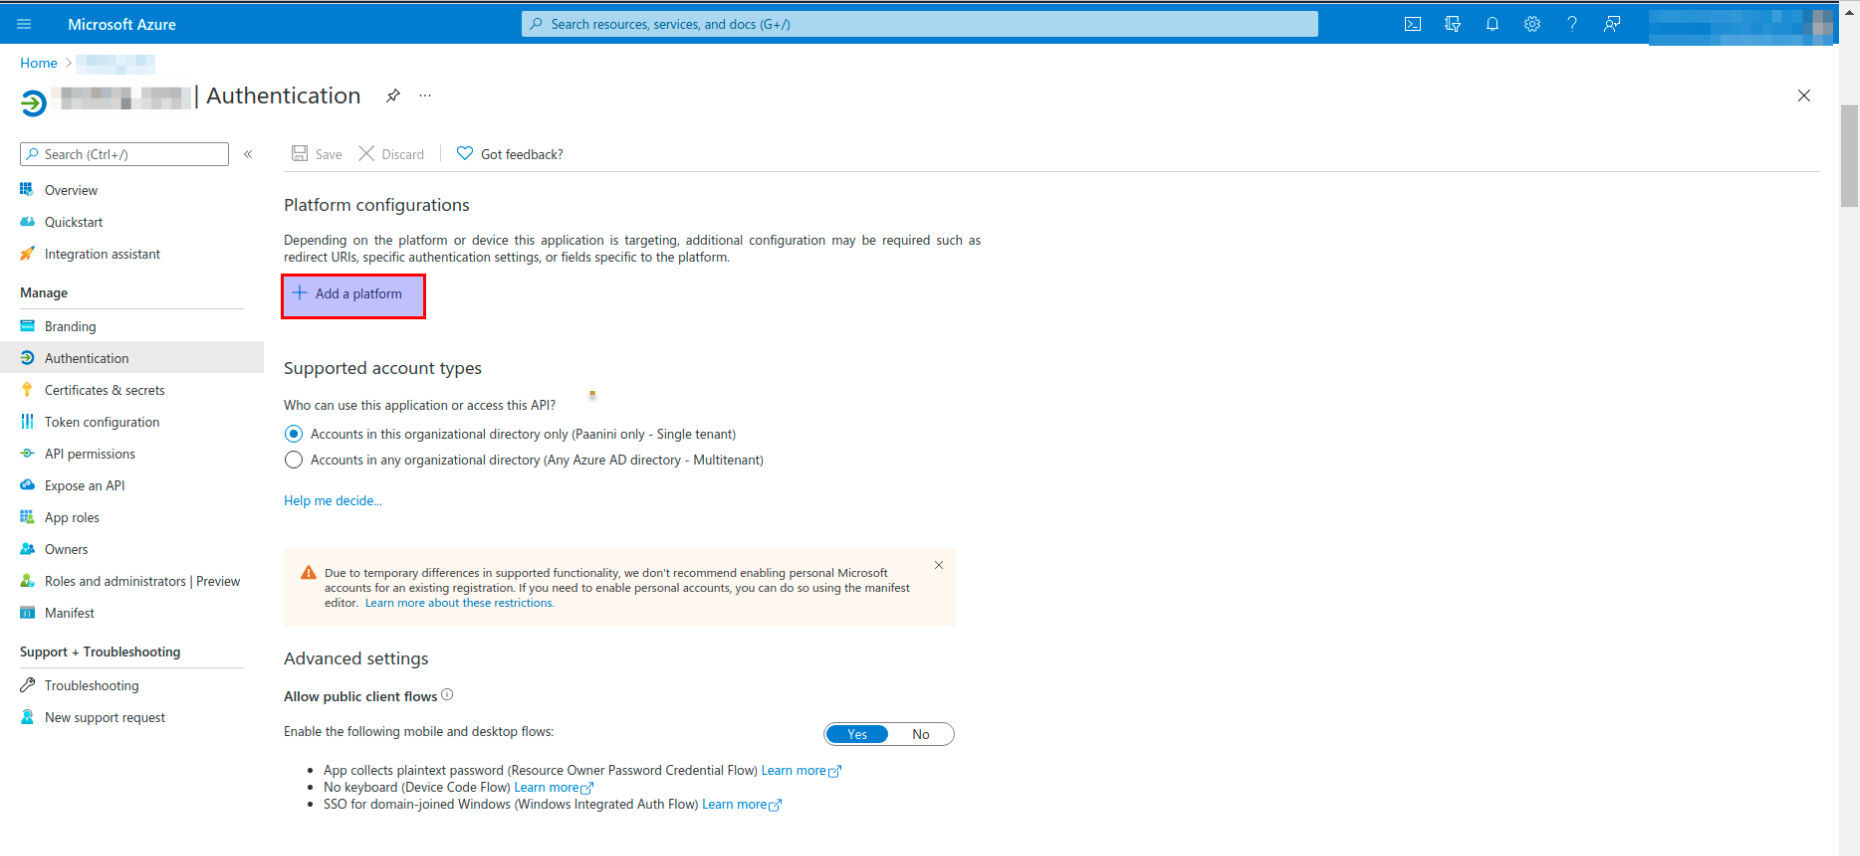
- Click on the Authentication button.
- Click on the +Add Platform button.
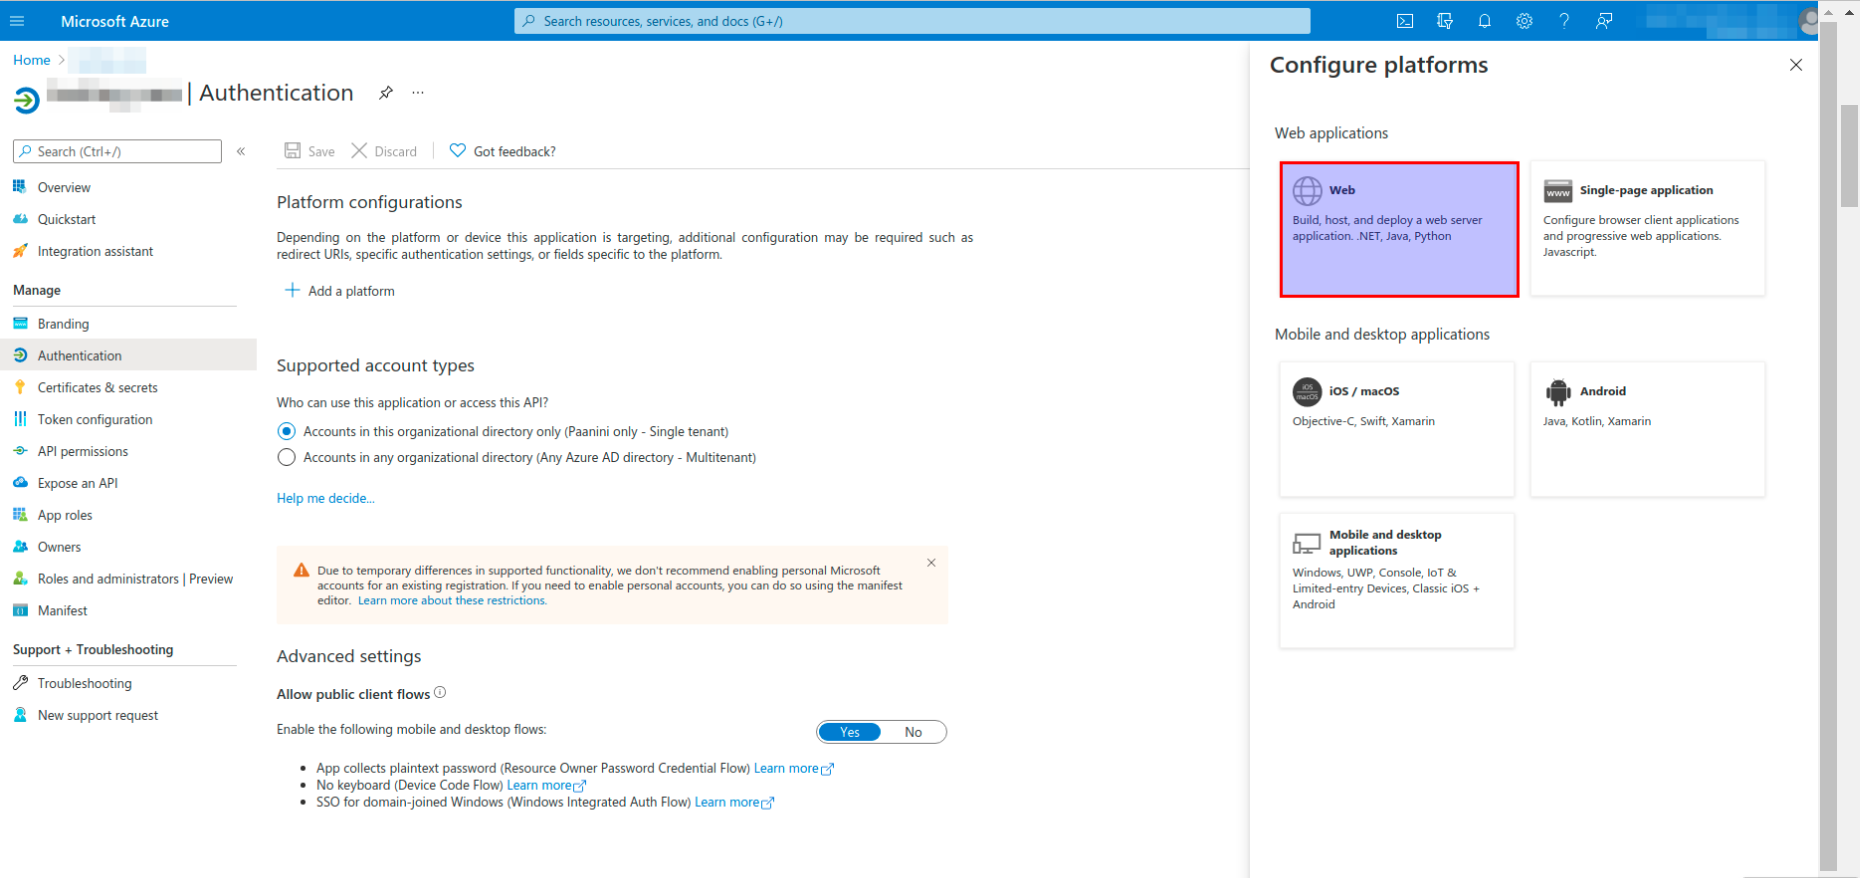
- Select the Web option from the Configure Platforms.
Configure web page section opens.
- Click on the Quickstart button.
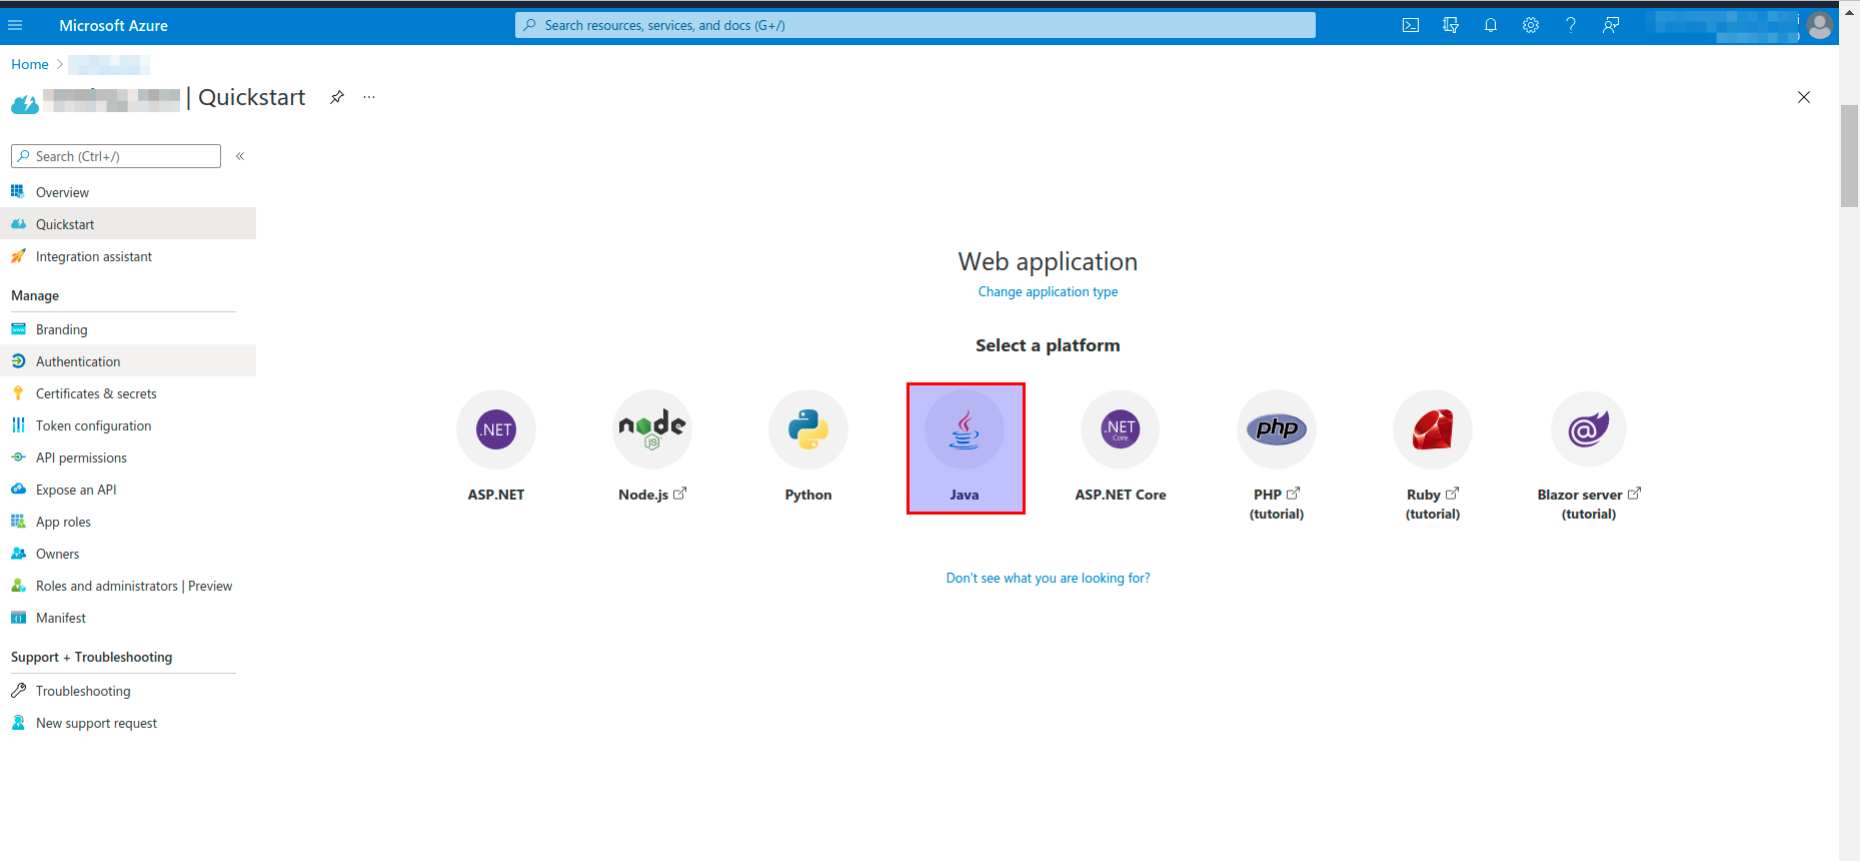
- Select Java from the listed platforms.
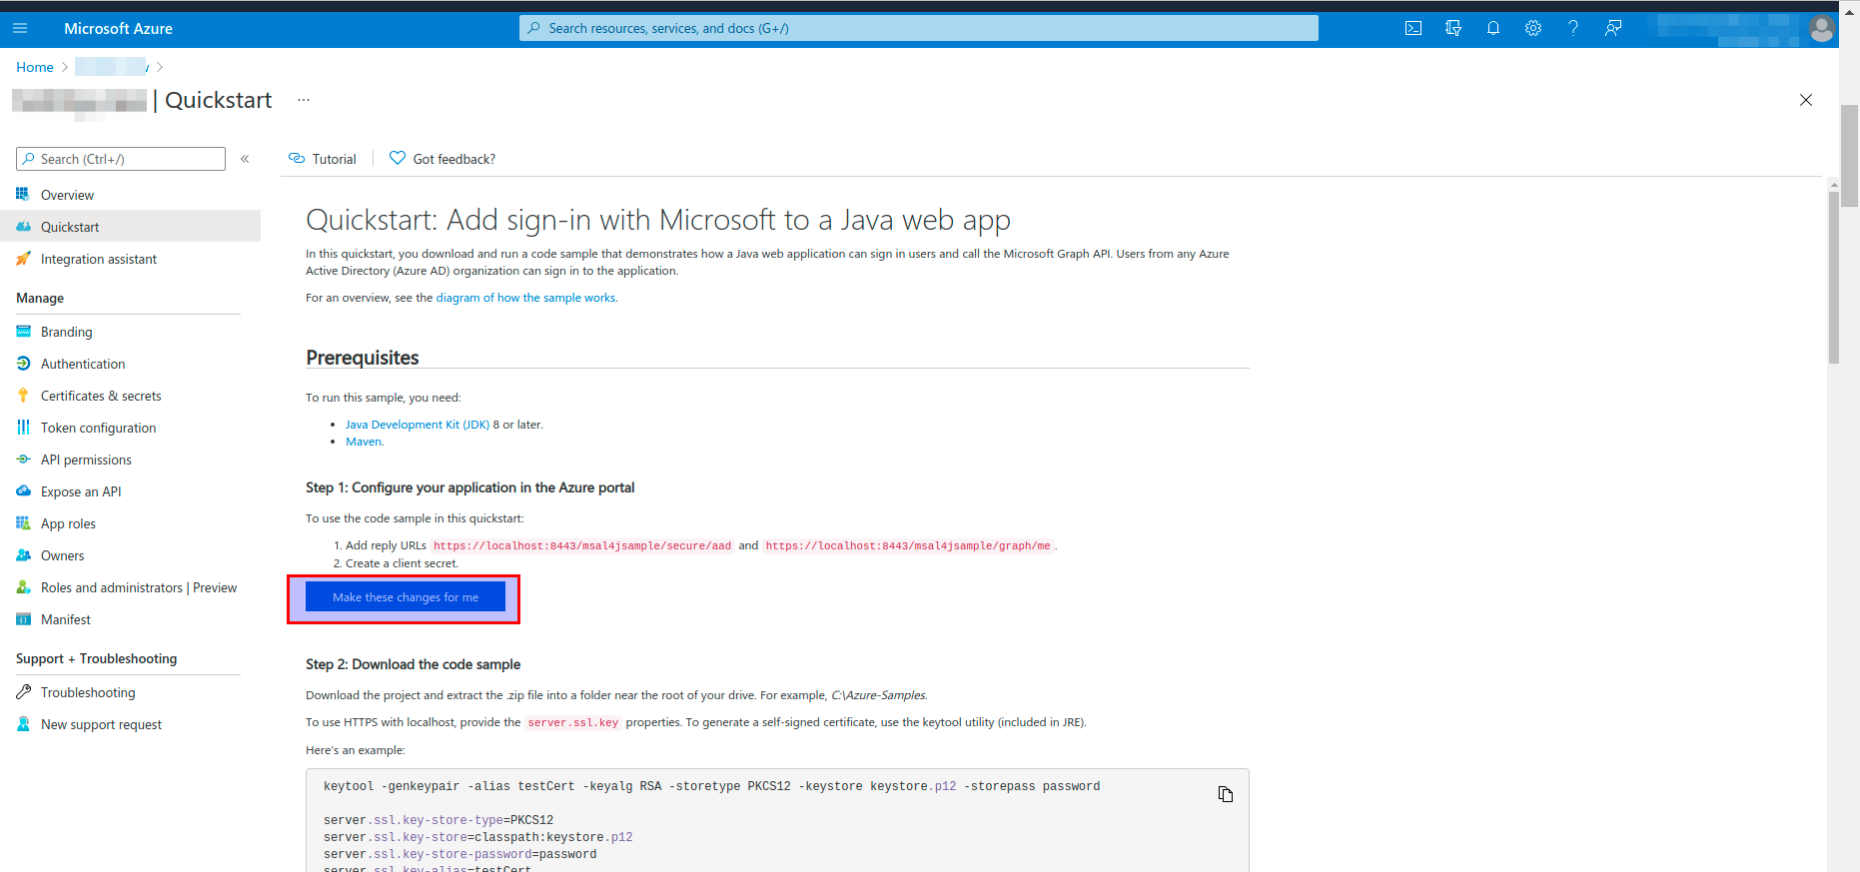
Java web app page opens.
- Click on the Make these changes for me button.
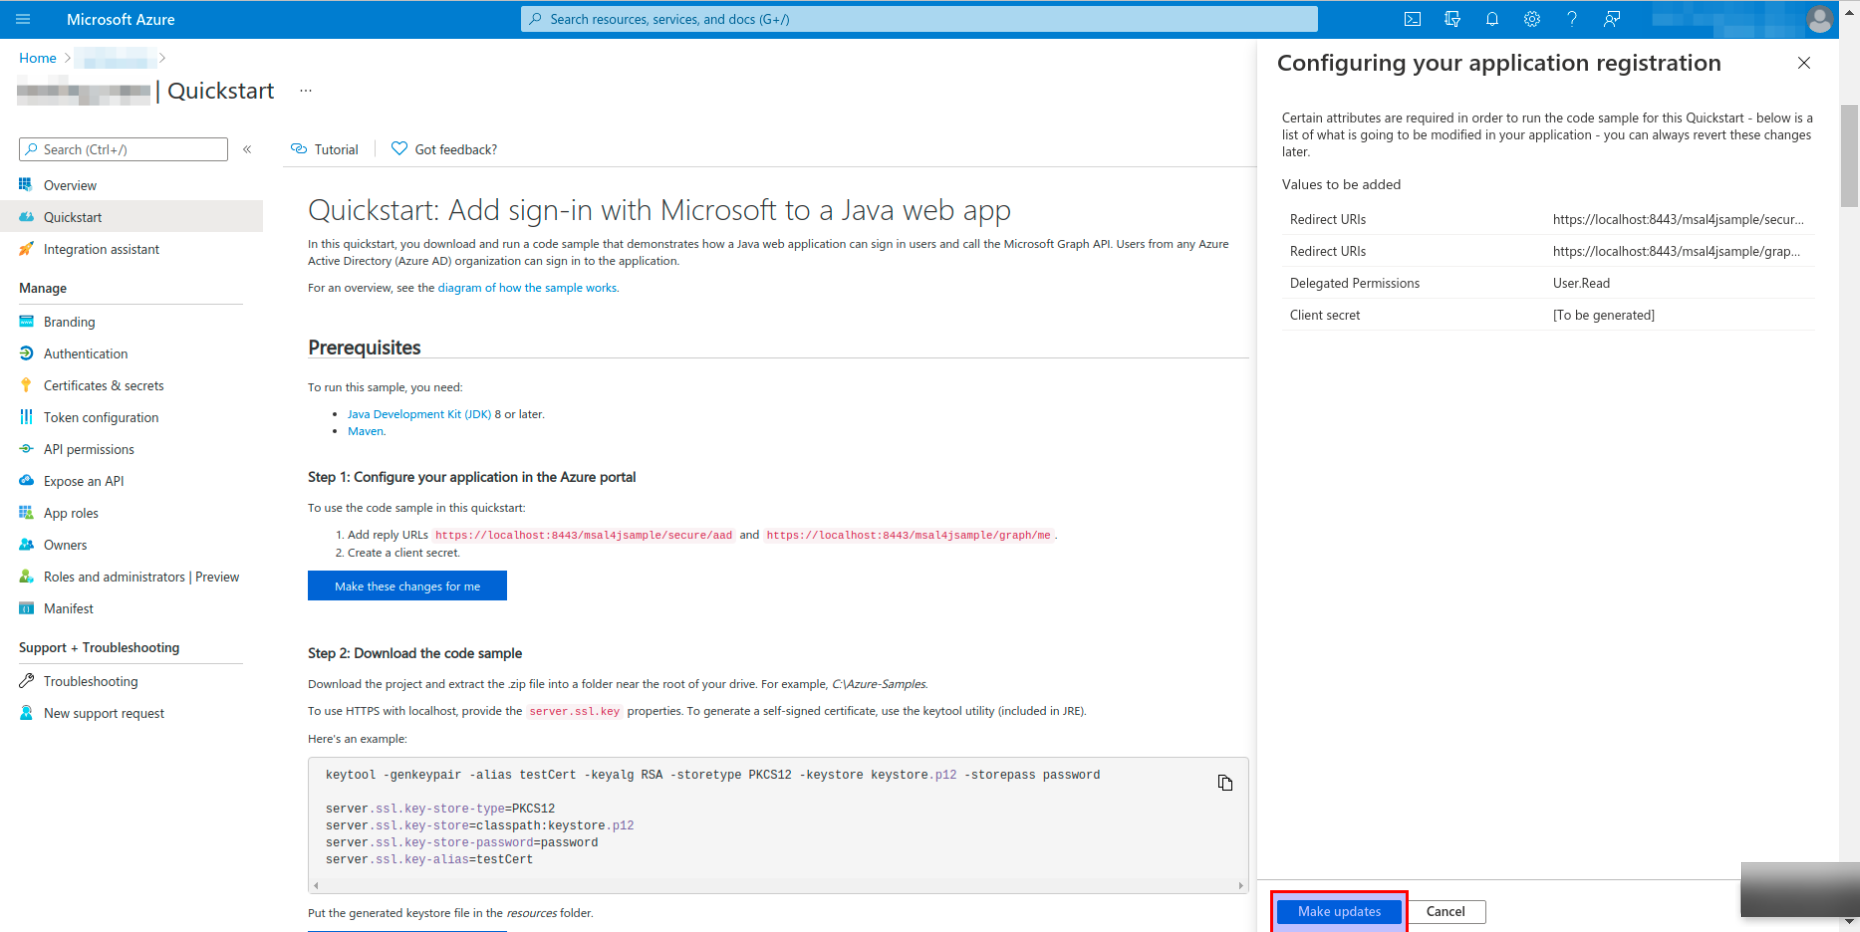
- Click on the Make updates button on the Configuring your application registration page.
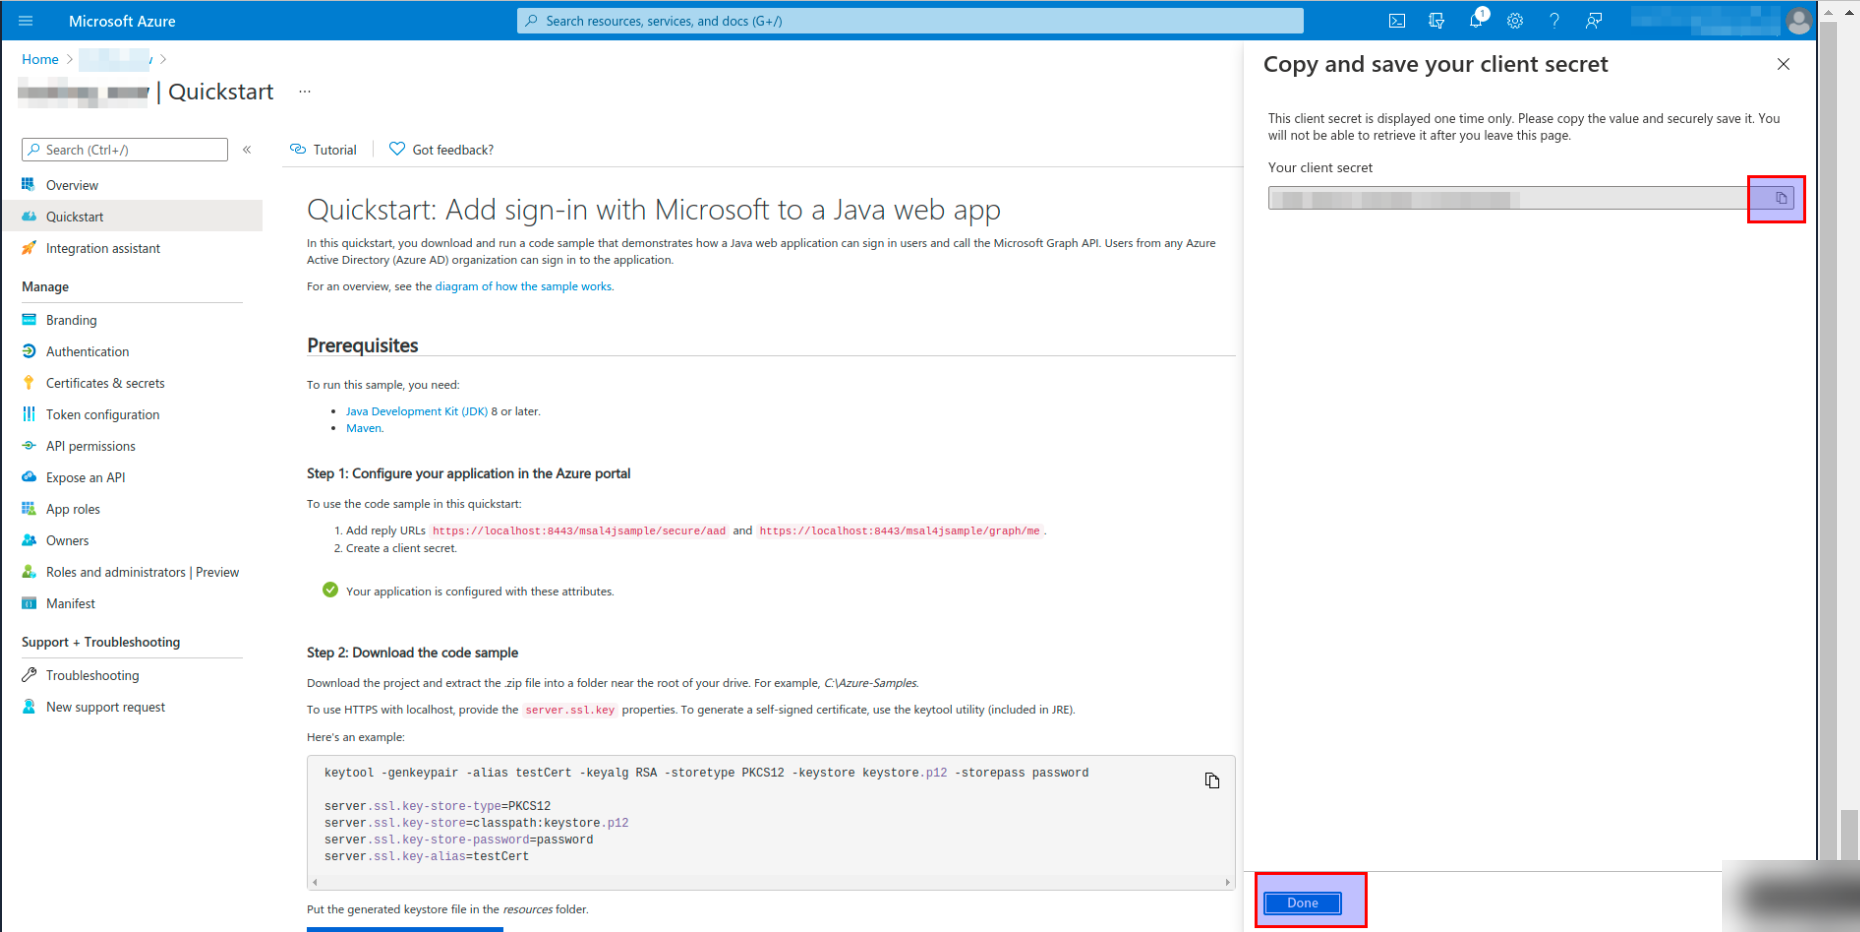
- Copy and save your client secret and click on the Done button.
Generate Encrypted Token File
Prerequisite: Java 8 is required
- Download the secure-token-generator application and batch file to run the application
- Open the batch file and enter the details, such as clientID, tenantID, secret, and folder path.
An Encrypted token file will generate in this folder.
- Open the Command prompt and navigate to the folder where the application is downloaded.
- Run the application using the batch file, for example, run.bat.
- Open the browser and enter the URL.
- Enter the username and verify with the generated verification code from the registered mobile number in the login page.
- Click on the Show user info button.
An encrypted token file is generated in the specified folder.
- Stop the secure-token-generator application.
- Place the token file in Jiffy (Make sure the folder structure is present):
- Location for Jiffy server:
- /opt/jiffy/ms365/token/design/{ClientID}.txt,
- /opt/jiffy/ms365/token/exec/{ClientID}..txt
- Location for Bot:
C:\jiffyservice\ms365{ClientID.txt}
- Key to decrypt the content of the encrypted token file:
u-w7HNMq@c/-4^Qg
- Store this key in the secure vault on the tenant level using Jiffy so that all applications can use it.
- Use this key in the mail configuration; instead of username give
vault:{vault key}
vault:ms365Key
- Get the client secret that was copied while configuring the application.
- Store the client secret in the secure vault on the app level using Jiffy.
- Use this secure vault key as password while configuring Email.

.jpg)
.jpg)
.jpg)
.jpg)
.jpg)
.jpg)
.jpg)
.jpg)
.jpg)
.jpg)
.jpg)
 Configure web page section opens.
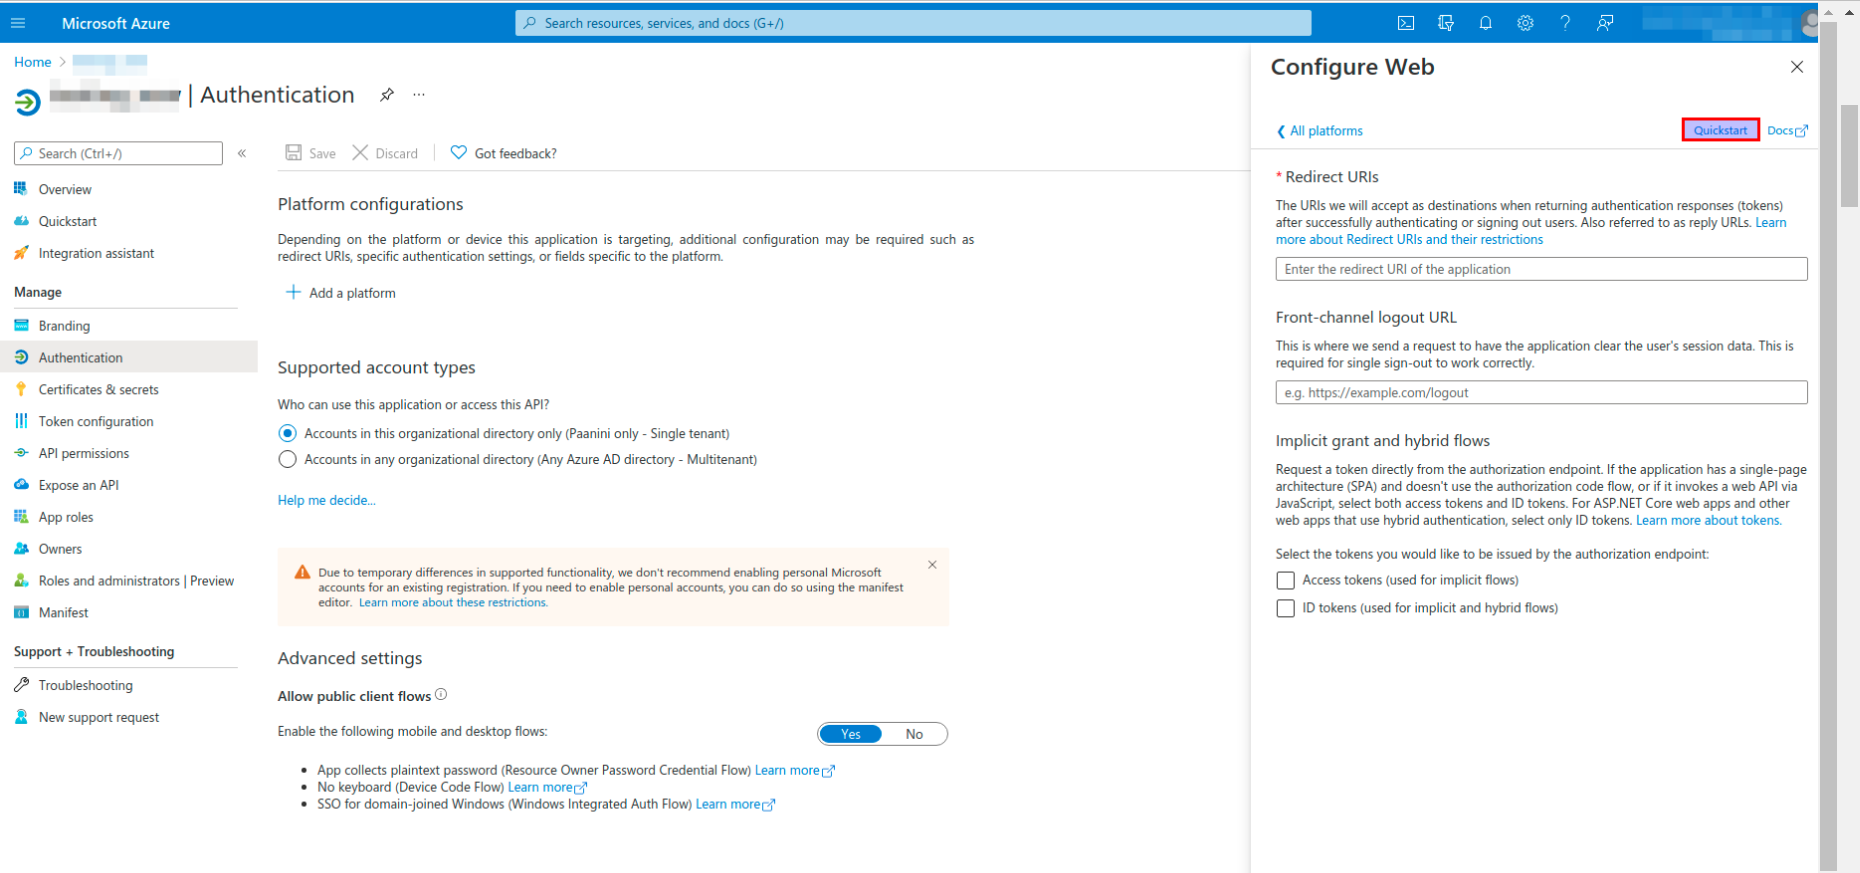
 Java web app page opens.